Sourdough - a recipe
I have to be honest - I am not a bread person…or…wasn’t. I stopped eating gluten in general after college after I moved to California. The active lifestyle and wellness culture there was a perfect fit for me and I connected to my body in a different way. Realizing that feeling bloated, having inflamed joints and a messed up digestion after eating gluten and bread was not normal, or how I strived to feel. Don’t’ get me wrong, there are tons of incredible bakeries around the country who have gorgeous and high-quality breads (try your local farmers market, too!). But in general, bread in America is low quality. We’re talking refined flour with higher glycemic index (causing spikes in blood sugar), added sugars, shorter fermentation times leading to less beneficial bacteria, and the regulations on bread in America are not great compared to other countries. To be frank, America’s big bread producers (grocery stores and larger brands) care more about low-cost and efficiency than quality and traditional methods. Which is why if you travel to Europe, you can eat these same foods and feel great after.
Why Bread in Other Countries is Often Better:
Less Additives: Many European countries enforce strict regulations on what can be used in bread, with some nations, like France, banning the use of artificial preservatives or additives.
Traditional Methods: In places like Italy and France, traditional bread-making techniques, such as slow fermentation and sourdough starters, are common. This not only produces better flavor but also tends to improve the bread's digestibility.
Better Ingredients: Bread in many parts of Europe uses higher-quality grains (often whole grains) and has fewer added sugars and preservatives.
So, once I was pregnant I jumped on the sourdough trend, dreaming of my little one and making homemade bread together. And honestly, i’m so glad I learned. It may be overwhelming at first, but I promise once you get the hang of it - you’re golden. It’s such a simple process that is now baked into our weekly schedule. There’s really nothing better than providing homemade food for your family and turning it into cherished memories.
Ok, let’s get into it. Here’s my tried and true recipe that’s worked for me. Feel free to switch things up - timing, flours, it’s all a science project of sorts.
1 loaf
100g starter (20%)
500g bread flour
350g water (70%)
10g salt (2%)
2 loaves
700g water
200g leaven
1,000g flour
20g salt
The feed before
Keep 15g and discard the rest.
Mix it with 60g water and 60g flour.
10am:
Whisk together starter + water.
Take 100g (200g) starter and mix with 330g (660g) water (you save some for later*).
Stir well (by hand or using a whisk) until it dissolves. At this point the rest of the starter can go in the fridge until next time you make bread.
Flour added to water + starter mix. Blend with hands. Use a scraper at the end to get sides clean and incorporated.
Add 500g (1,000) strong white flour (or bread flour) and mix until there is no dry flour and no visible lumps. Around 5-6min by hand. This marks the beginning of your bulk fermentation.
11am:
Sprinkle the 10g (20g) of salt on the surface and the water you have saved 20g (40g) (if required). With your wet fingers push the salt in the dough, and then mix it by squeezing it through your fingers. It will separate before coming back together. Give the dough a light knead of 4-5 min.
12pm:
First stretch and fold
Perform 4x every 30 minutes (2 stretch and folds, 2 coils)
the first time I did this I was very relaxed about timing, went over an over in between so don’t worry if it’s not exact
I put the dough in the oven with the light on to create a warm environment
2pm:
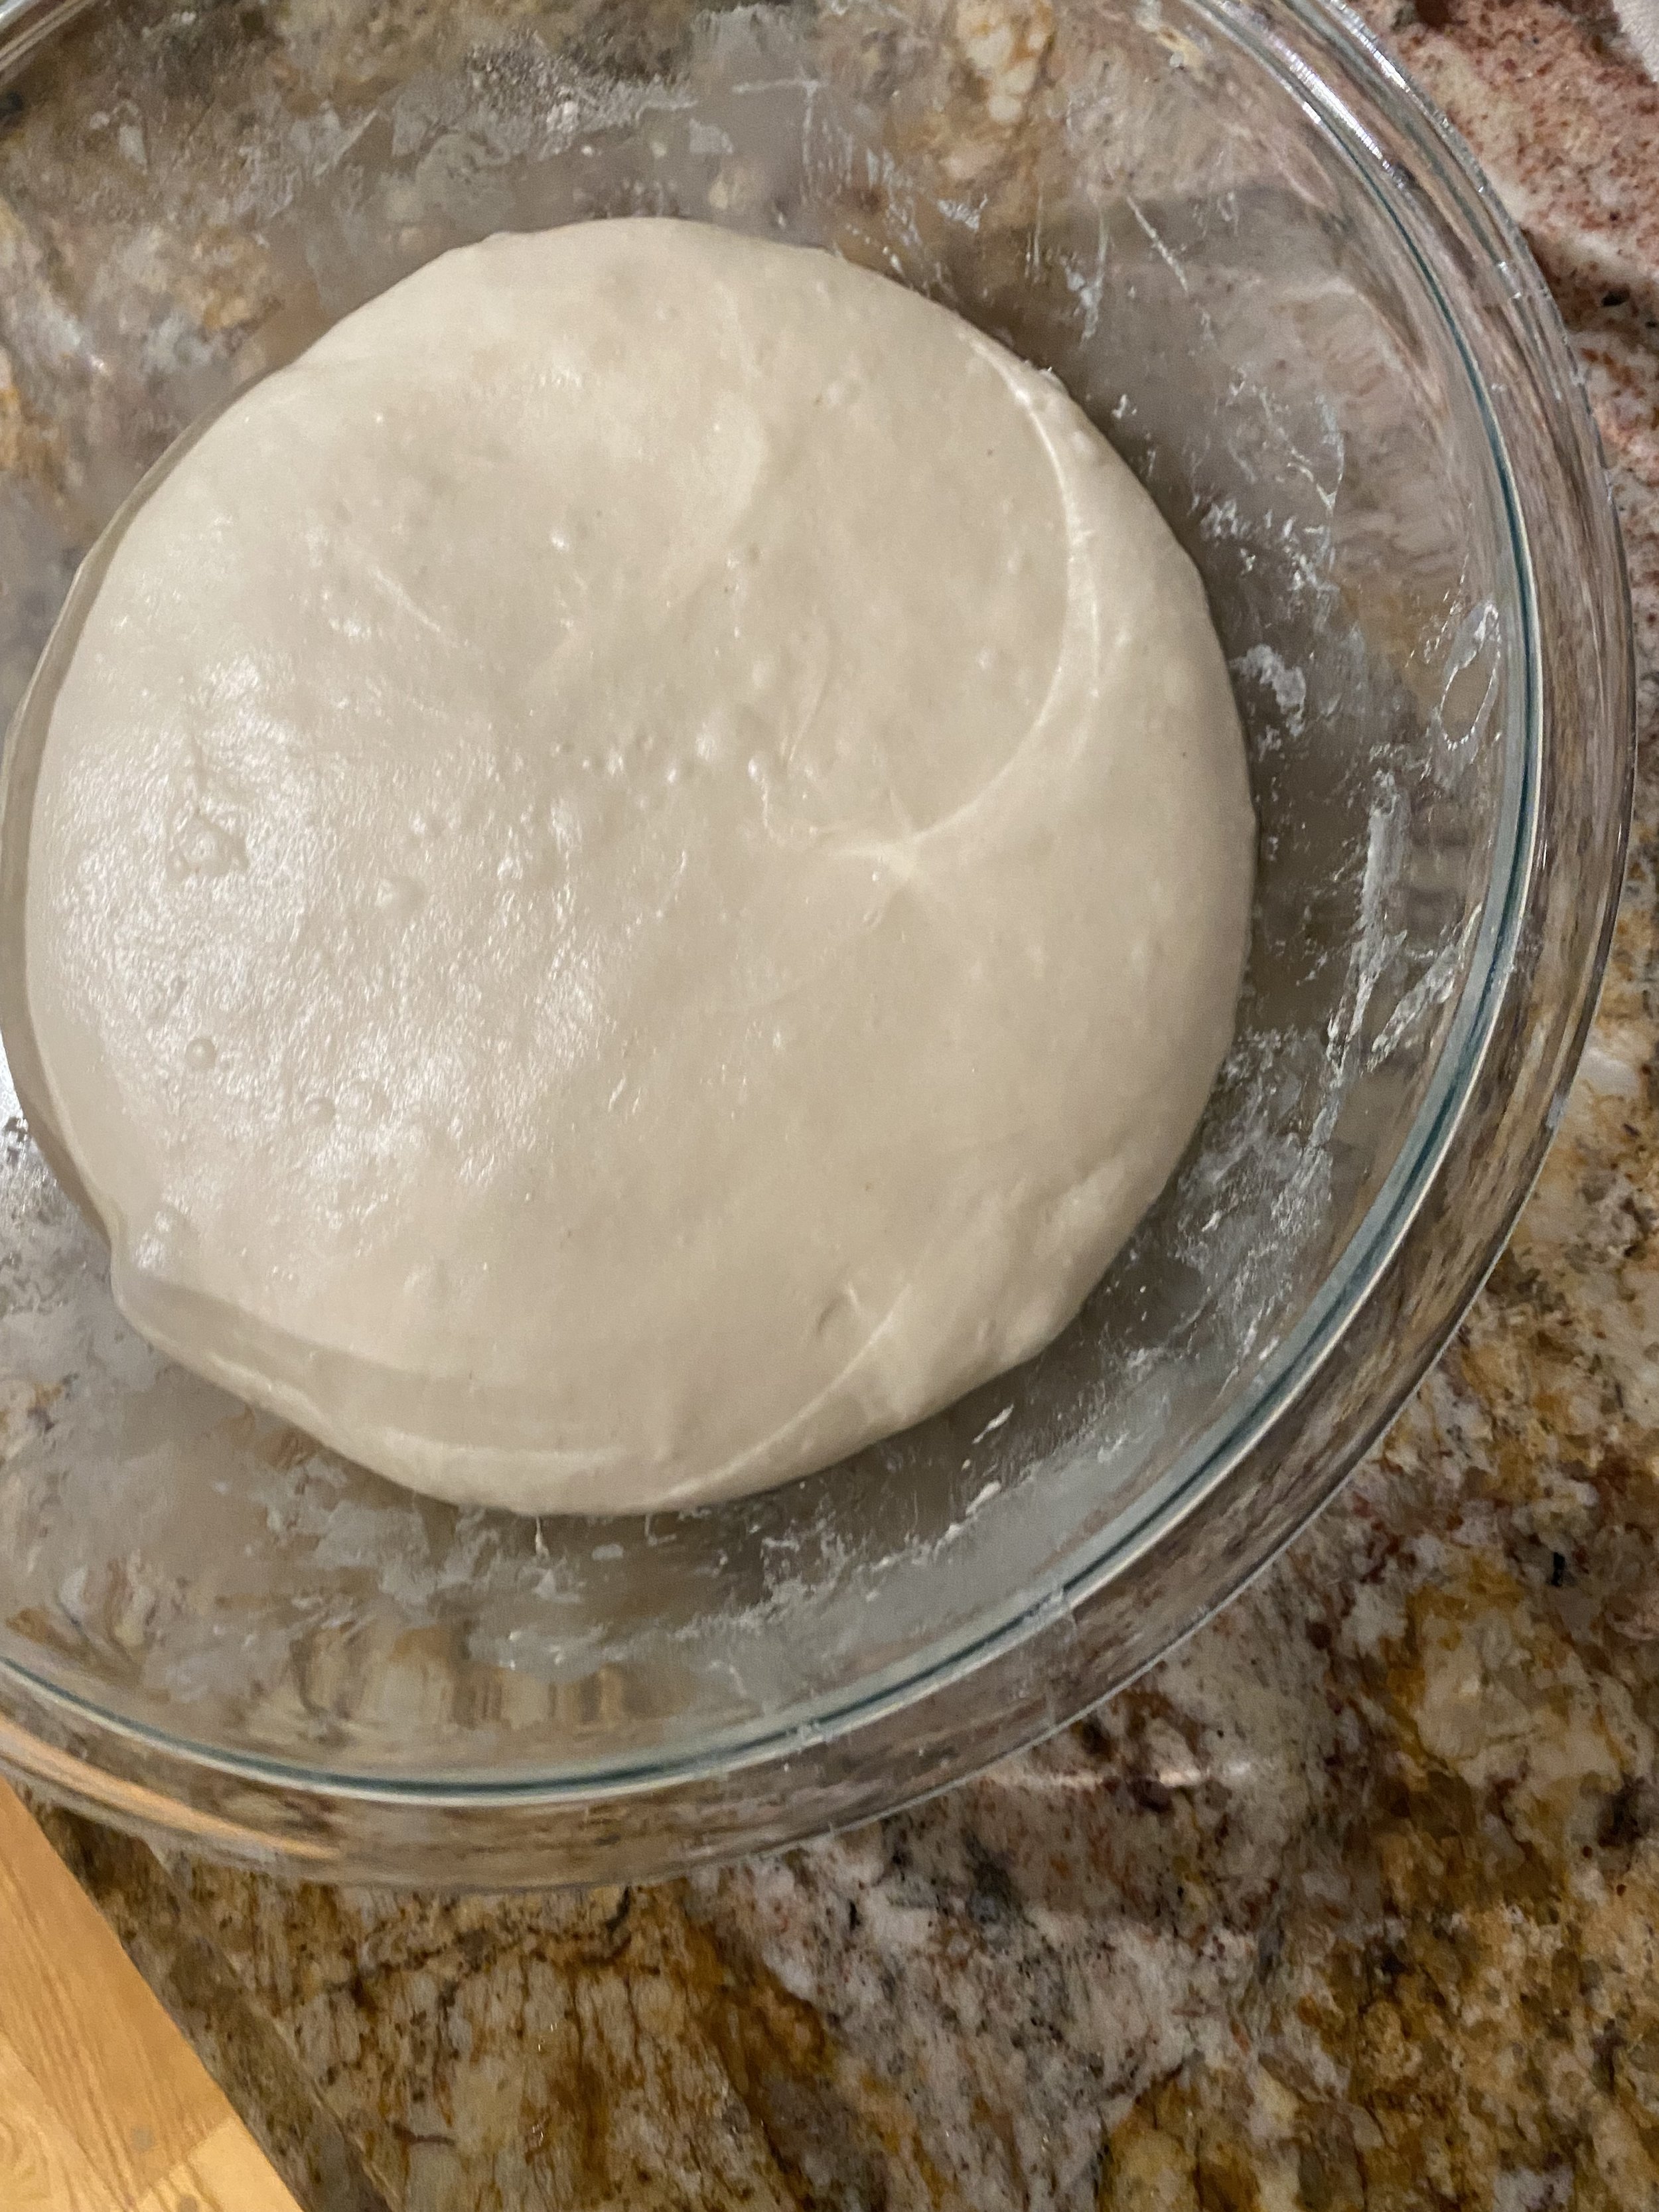
At this point, I put the dough back in the oven (new boiling pot of water) with plastic wrap over top and a tea towel covering it. Left it for 3-4 hours
After bulk fermentation
Once done rising in oven (2-4 hrs later)
Remove the dough from the bowl and shape it gently into a ball
First, bring all the sides of the dough in the middle, then flip it over, pulling it towards you. Repeat until you have a relatively tight ball
Dust it with a bit of flour, cover it with the kitchen towel and let rest for 30 min
5/6pm
Shape dough into a tight(ish) ball by placing on counter and pulling towards you
Flour your banneton generously + place dough
You can now place it in the fridge for the final proofing.
Next morning
After 12-16 hrs in fridge
(Followed Tartine’s baking) Preheat oven to 500 with combo cooker inside for 20 min. Get out dough from fridge.
Take out combo cooker bottom where dough will be. Place dough inside and score
Put back in oven for 20 mins, reduce heat to 450 right away
After 20 mins take top off, leave in for another 25 mins


